Home / Gate Hinge Inspection: What Wear, Rust and Sag Are Really Telling You
Gate Hinge Inspection: What Wear, Rust and Sag Are Really Telling You
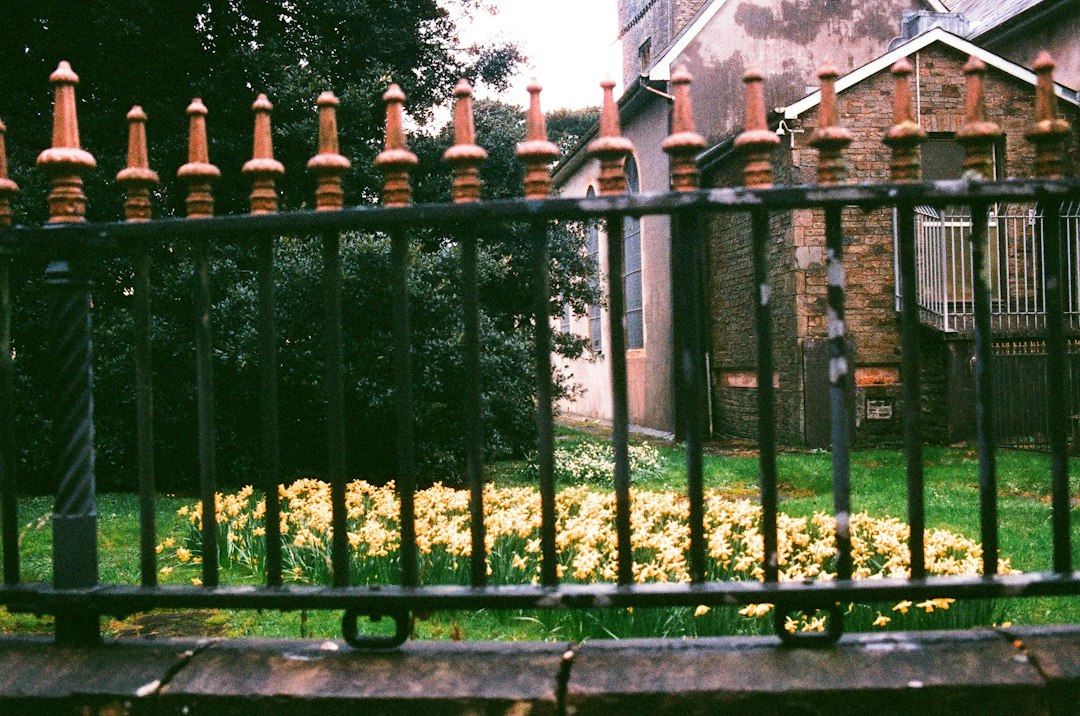
A sagging gate is the symptom, and the hinge is only one of several suspects. Before any part gets replaced, a short inspection sorts out whether the problem sits in the hinge, the post or the gate frame.
Start With the Gap, Not the Hinge
Close the gate and compare the gap at the top and bottom of the latch side. If the gap is wider at the top, the latch end has dropped. That points to worn hinges, a moving hinge post, or a frame that has racked out of square.
Then put a level on the hinge post. A post leaning toward the opening produces the same sag as worn hinges, and new hinges on a leaning post will not hold the gate for long. Gate sag does not always mean bad hinges.
A Worked Example: The Gate That Drops at the Latch
Picture a steel driveway gate that used to latch cleanly and now catches the strike plate a finger-width low. The inspection runs in this order:
- The gap is wider at the top of the latch side, so the latch end has dropped.
- A level on the hinge post shows the post is plumb. The post is cleared.
- Lifting the latch end by hand raises the gate and produces a clunk at the top hinge. Hinges in good condition move very little, so the pins or knuckles are worn.
- A close look at the top knuckle shows black paste, which is ground metal mixed with old grease. That means active wear.
- The bolt holes on the post side have stretched slightly into slots.
The verdict: worn pin and barrel, plus loose mounting. Tightening the bolts alone would do nothing for the worn pin, because tight bolts cannot fix an oval barrel. The hinge needs replacing.
If step 2 had shown a leaning post, the post would come first. This is also where an earlier read, this guide to hinge selection and sizing, pays off when it is time to choose the replacement.
Pins, Barrels and Bearings
Look for a pin with a groove or a stepped wear line, and for a barrel bore that has gone oval. Black or grey paste at the knuckle is the clearest sign of metal wearing away.
Heavy gates often use hinges with ball bearings or bearing collars. Grinding, rough spots through the swing, or a hinge that has stopped turning while the gate still moves all point to a failed bearing. A hinge that has seized can twist its own mount.
Check the top hinge first and most carefully. The weight of a swinging gate pulls the top hinge away from the post and pushes the bottom hinge into it, so top hinge fasteners and welds are the ones that pull out or crack.
Fasteners and Welds
For fasteners, look for loose nuts, bolts that have backed out, and holes that have stretched into slots. Through bolts with nuts and washers hold a heavy gate better than lag screws in a wood post.
For weld-on hinges, study the edge of each weld. A thin rust line along the edge, or rust bleeding from a hairline, often marks a crack. A cracked hinge weld on a heavy gate is a job for a welder, not a homeowner.
Alignment: One Vertical Line
Both hinge pins should sit on one vertical line. If they do not, the gate binds, one hinge wears much faster than the other, and the gate may swing open or shut on its own. Adding a third hinge does not cure this, and it cannot correct a leaning post either.
Reading Rust in Mount Pleasant's Salt Air
Homes near Charleston Harbor, Shem Creek and the marsh edges in Mount Pleasant get salt deposits on hardware, and the humid climate keeps metal damp for long stretches. Rinsing hinges with fresh water after windy spells and storms removes salt before it pits the metal.
| What you see | What it likely means | What to do | |---|---|---| | Light orange bloom on the surface | Coating has thinned, metal is intact | Clean to bare metal, then recoat | | Flaking or scaling at the knuckle | Metal is being lost | Replace the hinge | | Pits at the base of a weld | Section loss where the load sits | Have a welder assess it | | White powder around fasteners on aluminum or zinc coatings | Dissimilar metals corroding | Isolate or match the hardware | | Brown "tea staining" on stainless | Lower grade stainless in salt air | Cosmetic if light; check threads and pivot |
Painting over rust that has not been removed does not stop it, since it keeps spreading under the paint. Galvanized hardware does not last indefinitely near salt water either, because salt exposure wears zinc coatings down faster.
Mixed Metals and Stainless
Stainless fasteners on galvanized or aluminum gates can speed up corrosion of the galvanized or aluminum part when it is wet, especially in salty, humid air. Isolating washers or matched hardware reduce the problem. Stainless is not rust-proof either: lower grades stain in salt air, and marine grade holds up better near the water. Rust at the threads or pivot is never cosmetic.
The Post Below the Hinges
Check the hinge post at ground level. Steel posts rust fastest right where they enter concrete or soil, because water sits there. Wood posts holding metal gates rot at grade in a humid climate. Probe the base with a screwdriver. Soft wood or flaking steel there will bring the gate down whatever the condition of the hinges.
Also look for ground drag. A gate that scrapes the ground or hits a raised paver levers against the hinges every time it moves, so scuff marks on the ground and the bottom rail are worth finding.
Self-Closing, Automated and Security Details
Self-closing hinges should be tested from several positions. Open the gate partway, then fully, and let go each time. It should close and latch on its own every time. Rust and weakening springs reduce closing force over time, which matters most for gates around pools and gates kept shut for children or pets.
On an automated gate, the operator arm adds force the hinges were not always built for. Check the hinge nearest the operator bracket for movement, cracked welds and stretched bolt holes.
On some hinges the gate can be lifted off its pins. If the gate guards anything worth protecting, fit the hinges so the gate cannot be lifted off, or use capped or welded pin ends.
Lubrication and Recoating Without Making a Mess
Wipe old grease off first. On exposed hinges, a light grease or a dry film lubricant works better than heavy grease, which picks up sand and grit and turns into a grinding paste. Use the fitting if the hinge has one. Spray water displacer is a penetrant and cleaner, not a lasting lubricant.
When painting, mask or wipe the pin and bearing surfaces. Paint in the knuckle cracks as the hinge turns, traps moisture, and stops grease reaching the wear surface.
Replacing: Match the Load
Weight and width both load the hinges, and a wide gate puts much more leverage on the top hinge. Match or exceed the original hinge size and type. Do not downsize because a lighter hinge fits the existing holes.
Storm Season and a Schedule
Wind can slam gates hard against stops and posts and fatigue hinge welds. Before a storm, secure the gate with a drop rod or latch so it cannot swing. After the storm, repeat the lift test and weld check.
A simple rhythm covers the rest:
- Every few months: a quick look and a swing test.
- Twice a year: a full check of fasteners, welds and lubrication.
- After any major storm: the lift test and a close look at the welds.
Homes nearest the water may need the rinse and lube step more often. For more on gate hardware and upkeep, the mount pleasant metal gates desk keeps related notes on hinges, posts and finishes.